This Post Contains Affiliate Links. Please Read Our Disclosure for Full Information.
Want to add a splash of color and personality to your walls without spending hours or a fortune? Paper wall art is the perfect solution! In under 30 minutes, you can create a stunning, personalized decoration that looks professional—but requires only a few simple supplies.
Whether you’re a beginner or just love quick DIY projects, this tutorial will guide you step by step.

What You’ll Need 🛒
- Colored Cardstock Paper – pick a variety of vibrant colors
- Scissors – for precise cutting
- Glue Stick or Double-Sided Tape – to secure your paper
- Ruler – for straight lines
- Optional: Frame to finish your artwork
Step 1: Choose Your Design 🖼️
Decide on the style of your wall art. Beginners can start with:
- Geometric shapes (triangles, squares, circles)
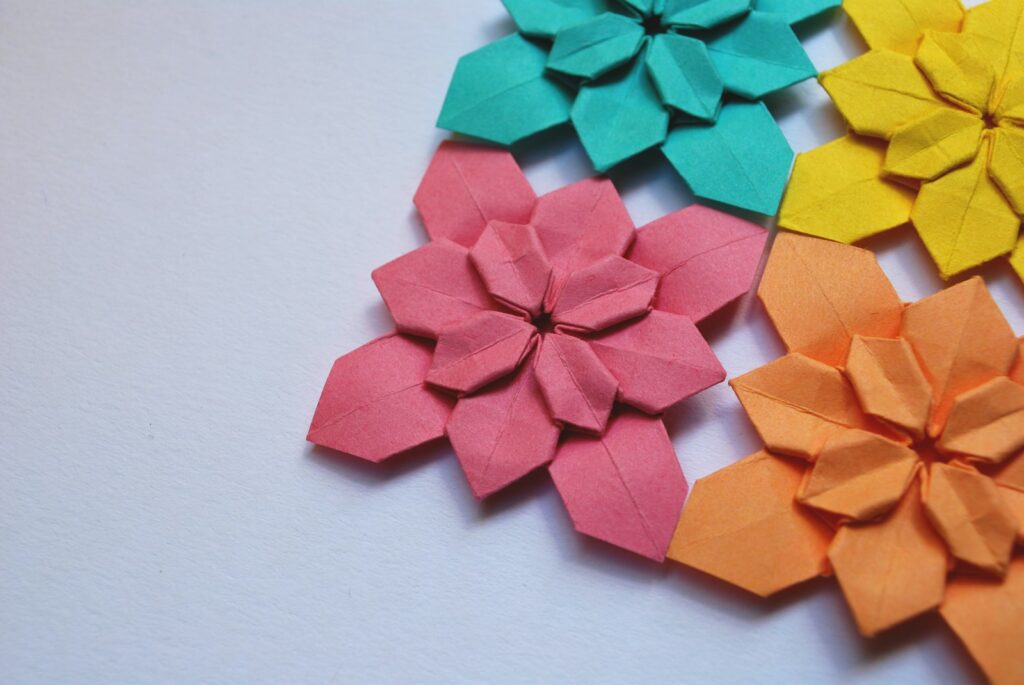
- Floral patterns
- Abstract or minimalist designs
- Quotes or typography
For inspiration, Pinterest boards are full of quick paper wall art ideas.
Step 2: Cut Your Paper ✂️
- Use your ruler to measure and mark the shapes.
- Cut out shapes using scissors or a craft knife for precision.
- Mix and match colors for a layered, eye-catching effect.
Tip: Triangles, hexagons, or strips of paper work beautifully for modern designs.
Step 3: Arrange Your Shapes 🌀
- Lay the shapes on a blank sheet or inside a frame before gluing.
- Play with overlapping, rotation, and layering.
- Rearrange until you love the composition.
Pro Tip: Leave some white space—it gives your design a professional look.
Step 4: Secure the Paper 🖇️
- Use a glue stick or double-sided tape to attach shapes to your base.
- Start with larger shapes first, then layer smaller ones on top.
- Press firmly to avoid wrinkles or bubbles.
Step 5: Add Finishing Touches ✨
- Add small details like paper strips, dots, or glitter for sparkle.
- Place your finished artwork in a frame for a polished look.
- Hang on your wall using removable hooks for easy decorating.
Supplies for Finishing:
Bonus Tips for Gorgeous Paper Wall Art 🎨
- Layering is Key: Multiple layers create depth and make your art stand out.
- Mix Textures: Combine cardstock, patterned paper, and metallic sheets for variety.
- Keep It Symmetrical: Beginners often get the best results with symmetry.
- Use Templates: Print or draw templates for consistent shapes.
- Change Sizes: Use large and small shapes together for visual interest.
Why Paper Wall Art Works
- Quick: Most projects take under 30 minutes.
- Budget-Friendly: Uses inexpensive paper and minimal supplies.
- Customizable: Pick any colors, shapes, or patterns to match your decor.
- Fun & Therapeutic: Crafting is a great stress-reliever and perfect for family projects.
Final Thoughts:
With just paper, scissors, and a little creativity, you can make stunning wall art in minutes. This easy DIY project is perfect for beginners, renters, or anyone looking to brighten up their space without spending a fortune. Your walls can now be a reflection of your style, all thanks to simple paper and imagination!


